
First Personalized Experience for your Customers Using Agentic AI
Discover how Agentic AI empowers small businesses in Denver to deliver personalized customer experiences at scale—building stronger relationships and driving loyalty through smart automation.

Welcome back to the “Scaling Smarter” series on benindenver.com! I’m Benjamin Blair, a marketing expert with over 20 years of experience, and I’m here to help Denver small businesses thrive in 2025. After setting up your marketing profiles in our last post, let’s explore how to personalize customer experiences with agentic AI. Rest assured—you can absolutely manage this yourself with the right tools and steps. The most complicated structures imaginable all begin with a simple first step. Let’s make your business more engaging!
Why Personalization Matters
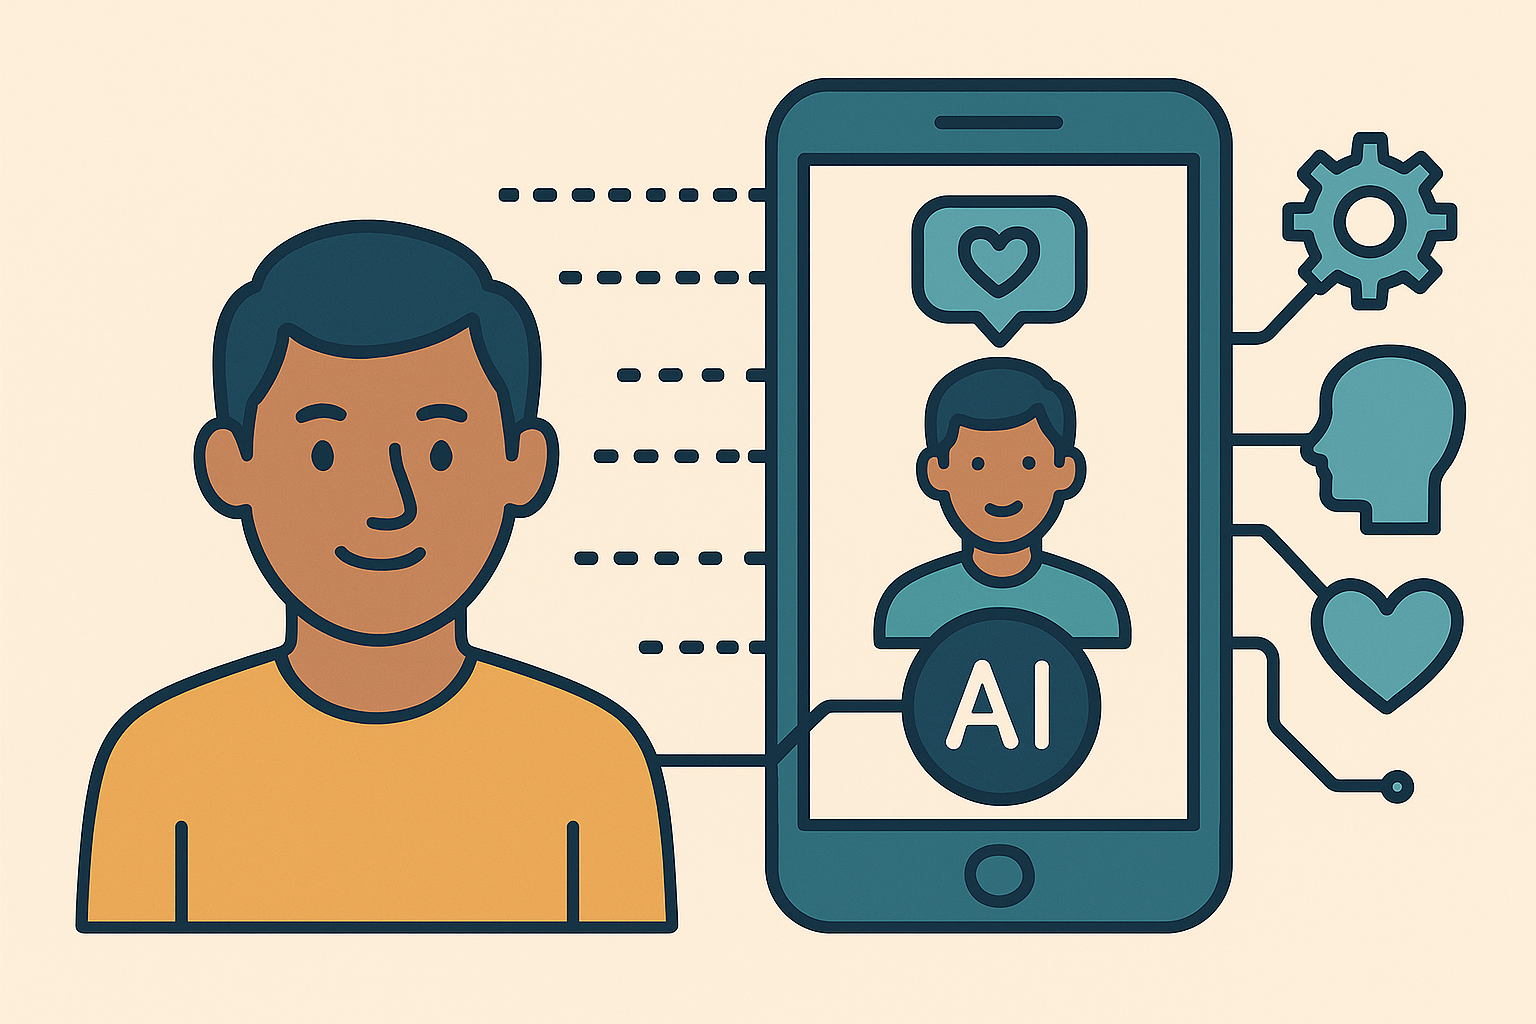
Tailored interactions create a uniquely personal relationship between you and your customers, and agentic AI can analyze your data to deliver emails or website content specific to them, boosting loyalty without high costs. For Denver businesses, whether a retailer, consultant, or service provider, this is an achievable way to stand out, and you’re fully capable of making it happen even without a coding and tech skills.
Tools to Get Started
We’ll use two accessible platforms I’ve worked with recently, one of which we just built a profile on in the last post, the other is probably the most common and user friendly website hosting:
Mailchimp: The free tier offers AI-driven segmenting to target specific customer groups.
Squarespace: A user-friendly site builder with customization options to add personalized content, starting with a free trial or affordable plan.
Both are cost-effective, and you can set them up with confidence using the steps below.
Step-by-Step Guide
1. Set Up Mailchimp Segmentation
Mailchimp’s AI can segment your list to personalize outreach, perfect for your Denver customers. Here’s how to start:
Log into your Mailchimp account from our last post.
Go to “Audience” and select your “Denver Customers” list.
Click “Manage Contacts” > “Segments” > “Create Segment.”
Pick a condition (e.g., “City contains Denver” or “Purchased in last 30 days”) you can do this easily!
Name your segment (e.g., “Active Denver Buyers”) and save it.
2. Craft a Personalized Email
Create an email tailored to your segment with Mailchimp’s help:
Click “Create Campaign” > “Email.”
Let Mailchimp’s AI suggest a subject line (e.g., “Exclusive Offer for You, Denver!”), you’re in control here!
Use “Hi [FirstName],” and add a personalized offer (e.g., “10% off your next purchase”).
Send a test email to yourself to check it, you’ve got this!
3. Add Personalization to Squarespace
Enhance your website with personalized content using Squarespace’s features:
Log into your Squarespace account (or start a free trial at squarespace.com).
Go to “Pages” and edit the page where you want personalization (e.g., homepage).
Use the “Content Blocks” feature to add a text block, you can handle this in minutes!
Insert a personalized message (e.g., “Welcome back, [Name]!”) using Squarespace’s custom code option or a third-party integration (e.g., a free plugin like “Squarespace Personalization”).
Save and preview your site to see it work, you’re fully capable of making this happen!
Sample Email Script
Here’s a template to get you started:
Subject: Exclusive Offer for You, Denver!

Hi [FirstName],

Thanks for being part of our [Business name] Denver community! Enjoy 10% off your next purchase this month. Check it out at [YourStoreLink].

Best,
[YourName]
Your Denver Business
Feel free to adjust this for your needs, you can do it!
Download Detailed Guide
For more detailed instructions, download our free guides:
These resources provide step-by-step support, so you can set up with ease.
What’s Next?
You’ve made great progress personalizing your marketing! Our next post will connect these tools to agentic AI for automation. Stay tuned, and share your experience with me on LinkedIn.
Let’s keep building your Denver business together!